Install WordPress Locally on Mac
Learn how to install WordPress locally on mac step by step. In a matter of only a few clicks you will have WordPress installed locally.
Why install WordPress locally on Mac?
Usually you need to pay for web hosting to build a WordPress website. However is possible to install WordPress locally on mac before purchasing hosting for your WordPress website.
You can try installing themes and plugins and build any website you desire before taking the website live on the web.
The downside to installing WordPress locally on your mac is that it can only be viewed on your computer and not available on the internet for others to see.
When you want others to see your website, you need to sign up to hosting and then migrate the website to the host. Why not cut out the middle man by clicking here and try out hosting for free and install WordPress without the need to migrate the local website to a web host.
How to install WordPress Locally on Mac
It is possible to install WordPress locally on mac by using Local WP and set up a local server on your mac. It is also possible to install WordPress on other operating systems such Windows and Linux.
- Go to Local WP and hover over “Resources” on the menu at the top and click on “Releases”.
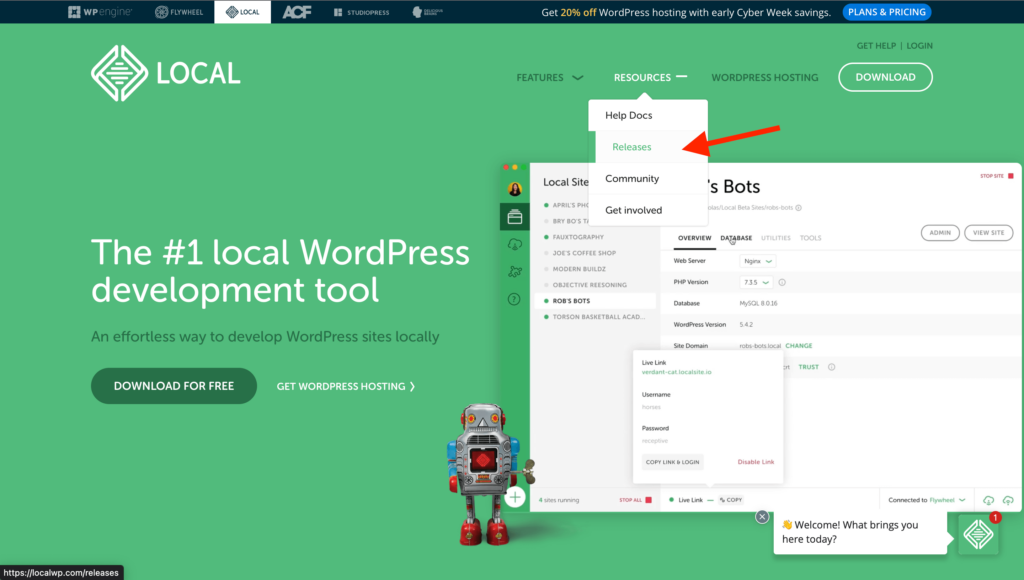
- Click on the most relevant Release link for your Mac computer and you will download WordPress locally on mac.
If you want to know which link you should be clicking on, then click on the on your Mac’s Menu Bar at the top and choose “About This Mac”. Click on the macOS link if it says Processor. Click on the Apple Silicon link if it says Chip.
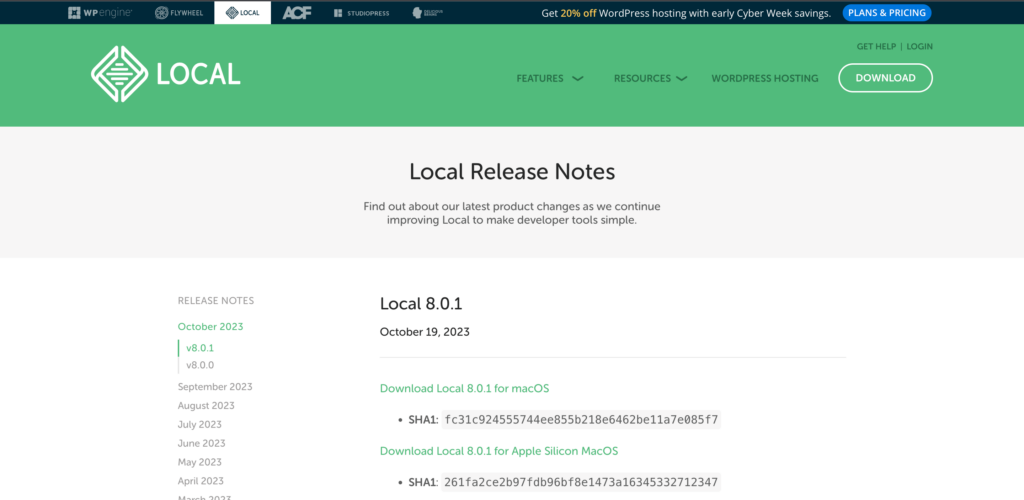
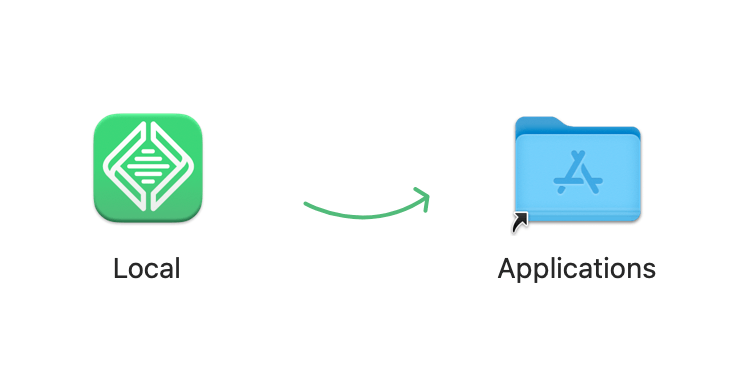
- Once the file has downloaded you should find it in the Downloads folder. Double click on the .dmg file and it will open the below window.
- Then double click on the Local icon and Local WP will load and you will need to answer a few questions. You may be asked to sign up, you can click the X in the top right to bypass this.
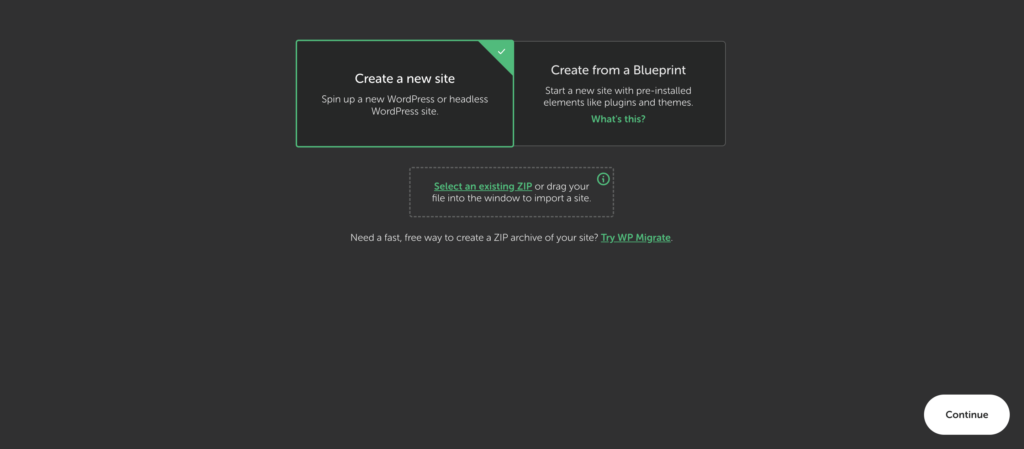
- Once you have answered a few questions, click on “Create a new site”.

- On the next page, click on “Create a new site” again. Then click “Continue”.
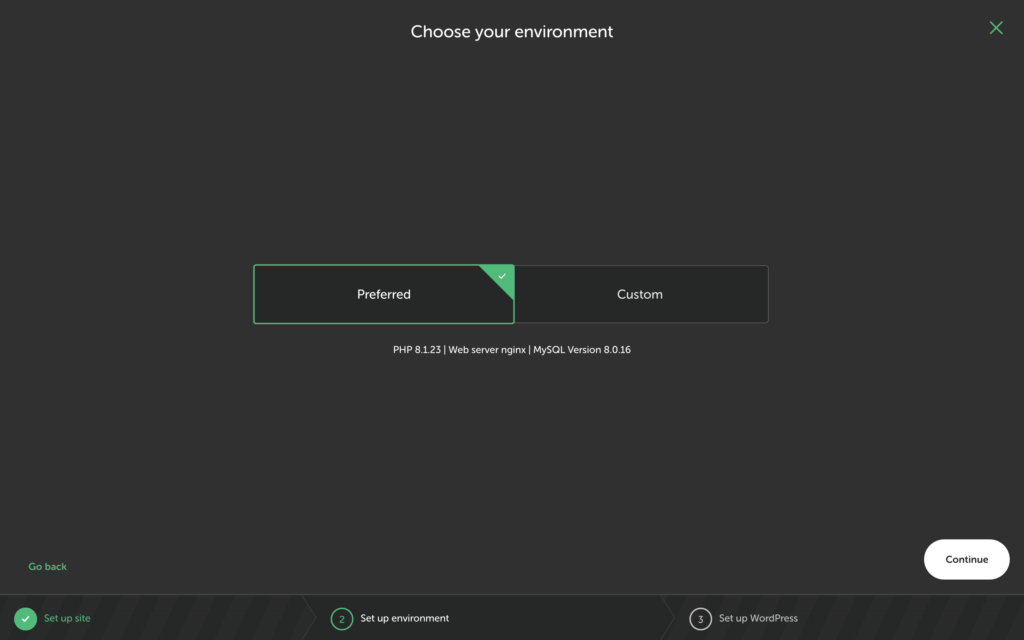
- Next click on “Preferred” and then click “Continue” and you will be one step away from installing WordPress locally on mac.
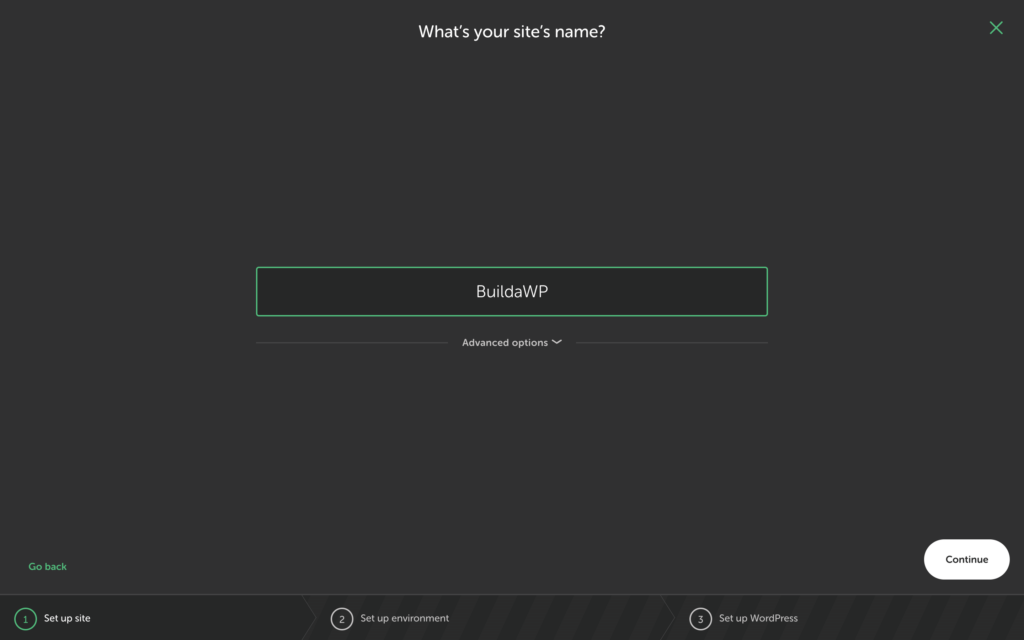
- Then give your website a name by entering it in the box
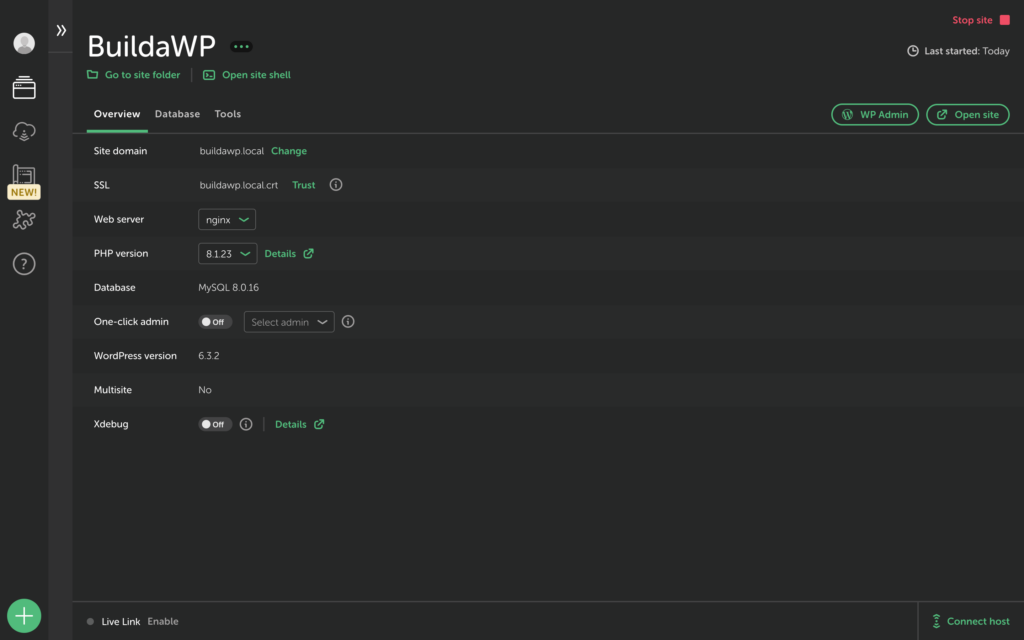
- Then click “Continue” and WordPress will be installed locally on your mac.
Well done! You have installed WordPress locally on mac.
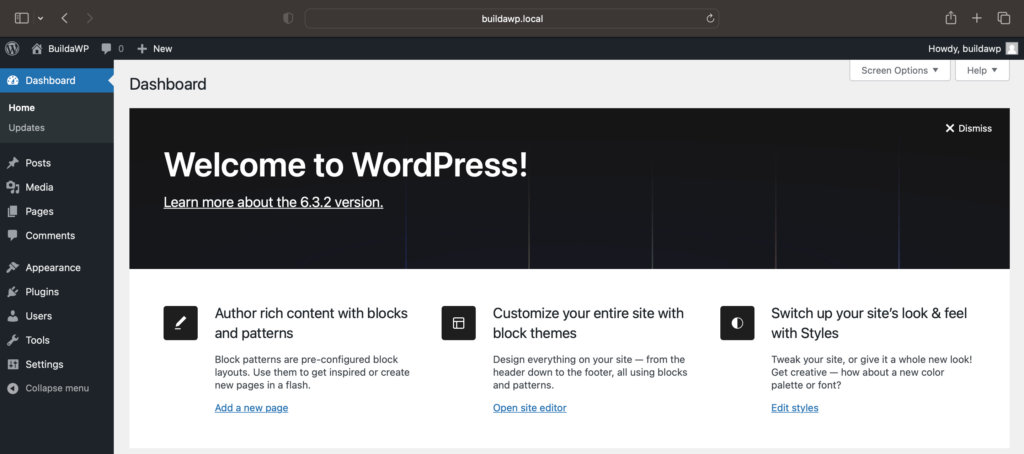
- Click on “WP Admin” and it will take you to the log in page of your local WordPress website.
- Enter the “Username” and “Password” you entered earlier. Then click “Log In” and you will be logged in to your local WordPress website.
From here you can start to build your WordPress website. If you want to try out hosting for free, click here.
In this tutorial you have learnt how to install WordPress locally on mac.
Please check out some of our other tutorials
Follow us on
Thank you for reading
Jonathan @ Buildawebs
